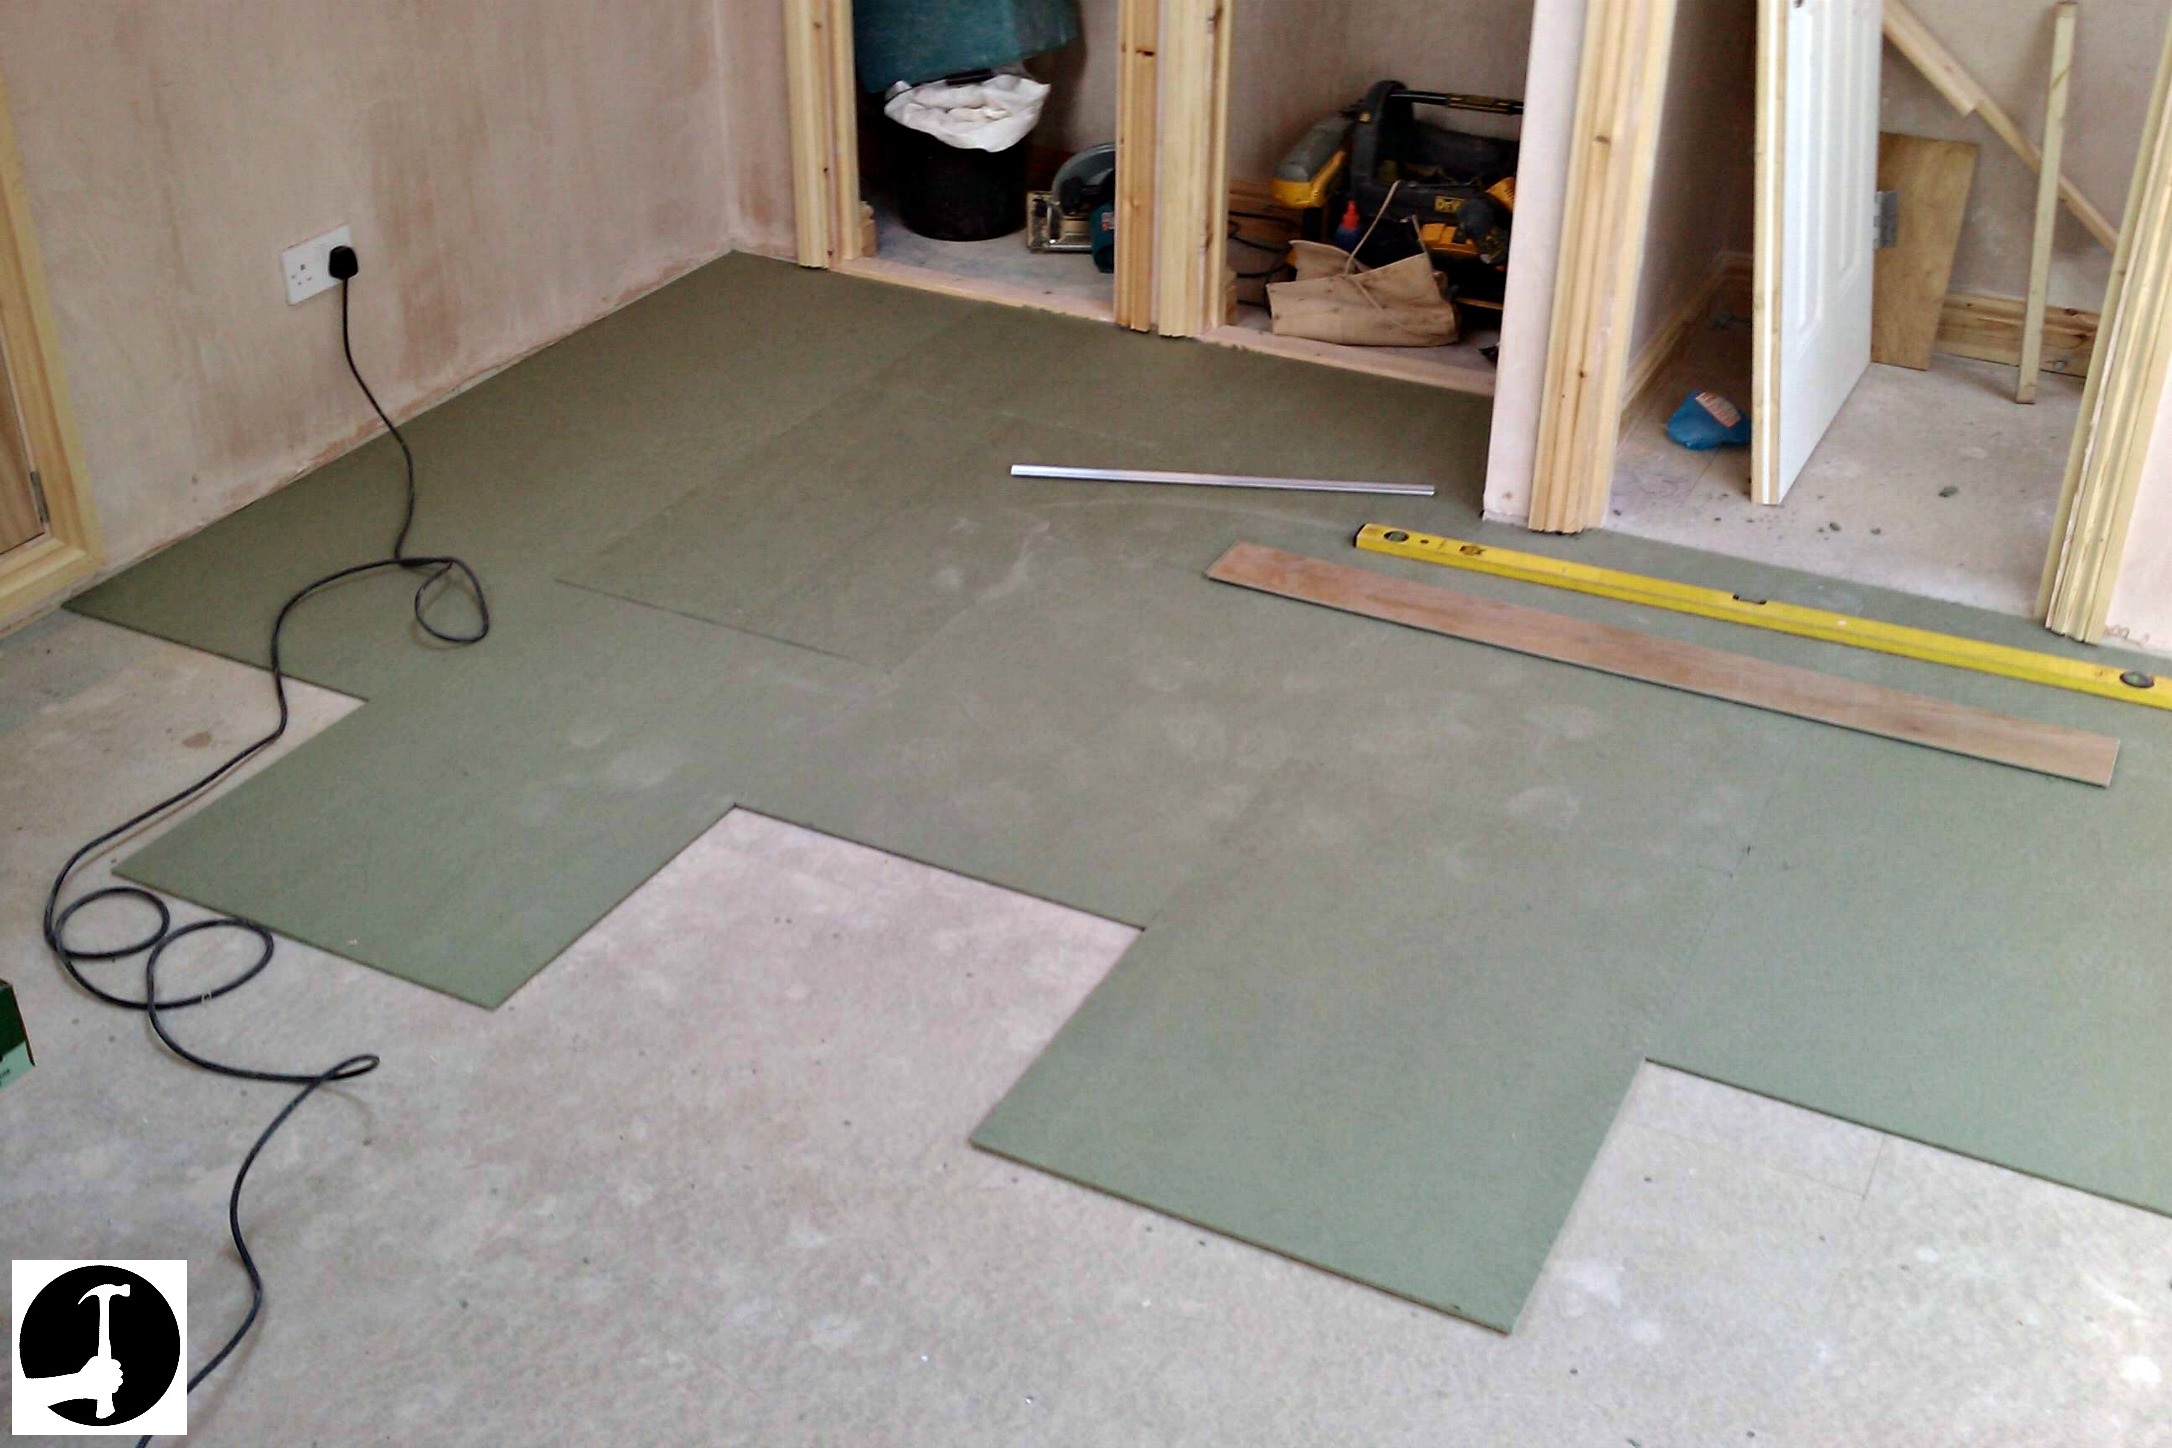
Laying P5 Chipboard Flooring

Weyroc Protect At Www Varleyinsulation Com Youtube

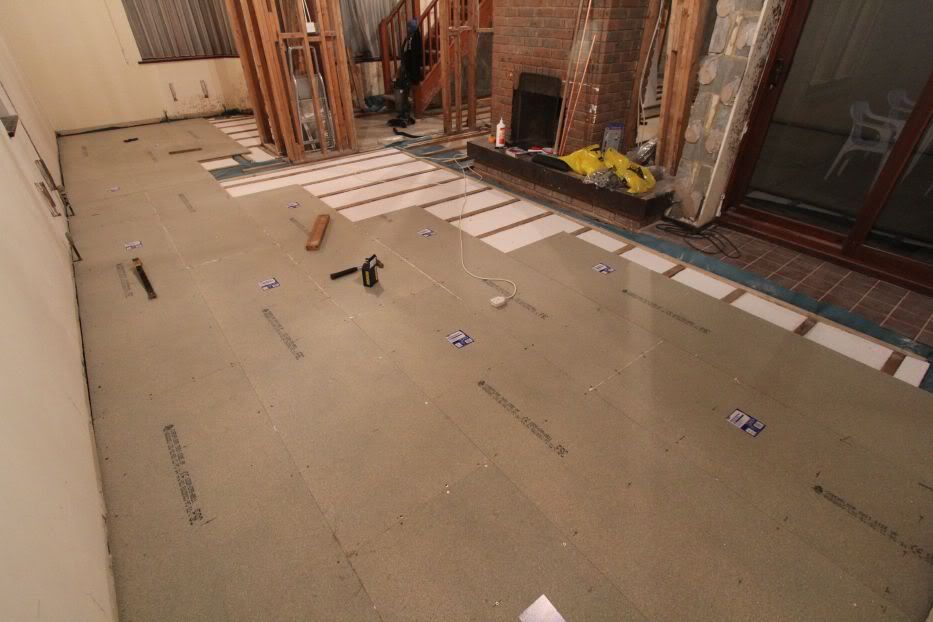
Flooring Chipboard Flooring

Hardiefloor Structural Interior Flooring Installation Youtube

How To Lay Chipboard Flooring Diy At Bunnings Youtube

Watch Installing Cabershieldplus Chipboard Flooring Professional Builder

How To Lay Chipboard Flooring Roofing Superstore Help Advice
Standard size sheets are 2400mm x 600mm and available in two thicknesses 18mm and 22mm.
Laying p5 chipboard flooring.

Laying Chipboard Flooring Diy Fix It
Laying 18mm T G Chipboard Flooring Www Ultimatehandyman Co Uk

Laying Chipboard Floor T G Joins Don T Align With Joists Solution Singletrack Magazine Forum

Caberfloor P5 T G Chipboard Flooring 18mm Delivered To You Coomers Online

Diy How To Remove Chipboard Flooring Youtube

P5 Chipboard Flooring 18mm And 22mm Moisture Resistant Devon
How To Lay Chipboard Floor Youtube

Tiling On Chipboard Floor All You Need To Know Trade Price Tiles
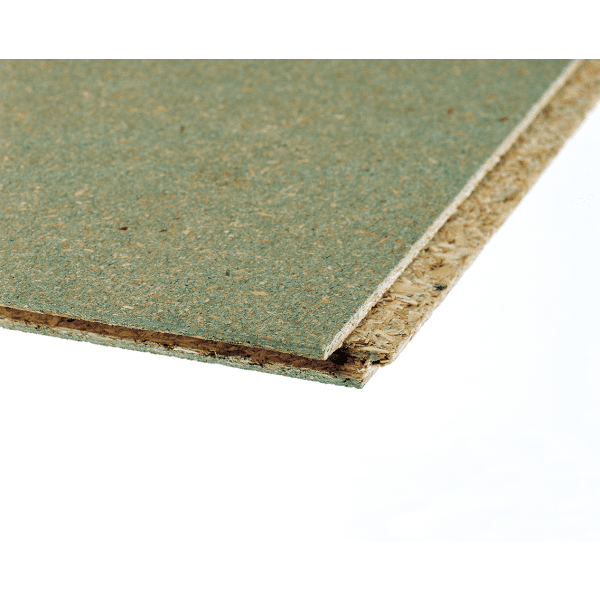
18mm 2400 X 600 Moisture Resistant Chipboard Flooring P5 T G On 4 Edges

Styrofloor Is An Insulated Flooring Panel Comprising P5 Moisture Resistant Chipboard And Styrofoam An Extruded Poly Floor Insulation Bungalow Conversion Home

Fitting Hardwood Flooring To Chipboard Wood And Beyond Blog

Eco Pearls Dry Levelling Chipboard Flooring Fitmywoodfloor

How To Install Yellow Tongue Flooring The Expert

Egger P5 Enhanced Moisture Resistant Structural Particleboard
Source : pinterest.com
