Laying Porcelain Tile On Uneven Floor

How To Install A Toilet In An Hour Tile Installation Porcelain Tile Home Repair
How To Tile An Uneven Floor A Step By Step Guide Atlas Ceramics

Installing Ceramic And Porcelain Floor Tile Step 1 Plan The Layout Tile Floor Installing Tile Floor Porcelain Flooring

Structural Deck Tiles For Uneven Surfaces Maybe Would Be An Option For The Uneven Grass In The Backyard Pin Outdoor Wood Decking Outdoor Deck Tiles Deck Tiles

Laying Floor Tiles On Concrete Slab Porcelain Floor Tiles Ceramic Floor Concrete Floors

Before You Tile Fix Uneven Floors Uneven Floor Flooring Concrete Floors

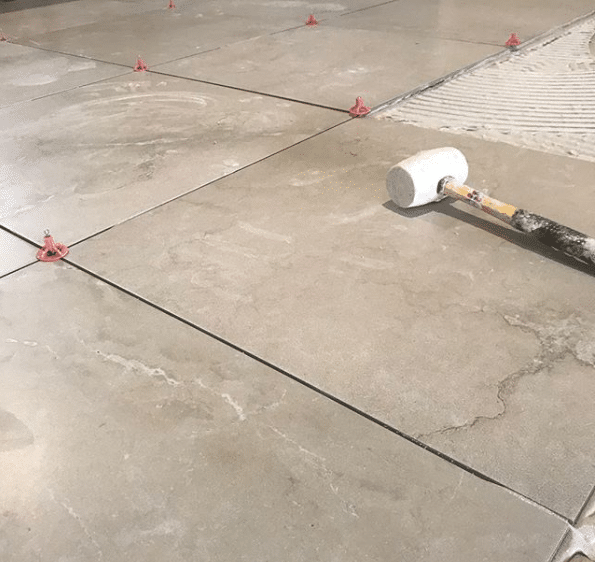
Lay a flat board over the tiles paying attention to the uneven spots and beat the board with a.
Laying porcelain tile on uneven floor.

Tile To Carpet Transition A Look At The Best Options For Your Home Carpet To Tile Transition Transition Flooring Flooring

Beginners Guide To Laying Tiles On An Uneven Concrete Floor Grandma Creates Flooring Concrete Floors Concrete

Supreme 12x24 Tile Layout Travertine Tile Installation How To Lay Tile Diagonally Uneven Tile Insta Shower Wall Tile Bathroom Shower Walls Shower Tile Patterns

Beginners Guide To Laying Tiles On An Uneven Concrete Floor Grandma Creates Tile Floor Diy Diy Flooring Faux Wood Tiles

Shower Curb Tile Ideas Non Slip Bathroom Flooring Rustic Tile Floor Tile Bathroom

18x36 Natural White White Ceramic Tiles Travertine Wall Tiles Travertine

Lancaster Bianco 3x6 Polished Ceramic Tile Splashback Tiles White Subway Tile Backsplash Ceramic Wall Tiles
How To Level A Subfloor Before Laying Tile Flooring How To Lay Tile Wood Floor Installation

How To Level A Subfloor Before Laying Tile How To Lay Tile Tiles Tile Installation

How Can I Prepare Uneven Concrete Basement Floor For Vinyl Planks Concrete Basement Floors Laying Vinyl Flooring Basement Flooring

The Montpellier Series By Fioranese Ceramica Comprises Three Sizes Which Can Be Combined To Offer A Greater Variety O In 2020 Montpellier Porcelain Flooring Flooring

Finishing Floor Flooring Kitchen Tiles Rustic Models Uneven Wood 55 Uneven Wood Flooring Models In 2020 Transition Flooring Kitchen Tiles Design Room Flooring

Tiling Inside Corners Ceramic Tile Advice Forums John Bridge Ceramic Tile 1 16th Gap Shower Tile Custom Tile Shower Shower Wall

How To Install Tile On An Uneven Floor
Source : pinterest.com
